Willow and Tissue Paper Seed Pods
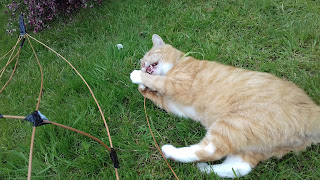
I had used willow withies in stage 2 to create a torso, so I had some experience of sculpting with them and it seemed the obvious choice of material to use to make the viola seed pods. They were straightforward to make, with the exception of the cat deciding that willow withies were the best toy ever invented and trying to destroy them...


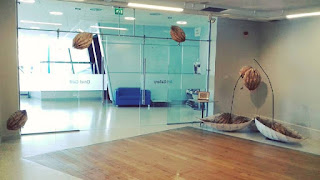
I made sure they were the right size to fit in my allocated corner of the gallery space as they couldn't spill over onto the wooden floor area for access/health and safety reasons.
Whilst I had made withy sculptures before, I hadn't covered them with tissue before, so I asked Sian for a quick demonstration. She told me I needed to cover them in cling film first to give an even surface to stick the tissue paper to. That was much more of a palaver than I had expected! Cling film is not the most co-operative material at the best of times when trying to cover a sandwich, let alone a 4 ft stick sculpture! And then there's the serrated blade that is 'helpfully' put on the box to tear the cling film...several cuts and a few cling film/selotape related tantrums later, Sian showed me how to apply the tissue paper. She made it look so easy! Simply water down the PVA glue a little, then tear a little piece of tissue paper, place it on the clingfilm and brush a little of the glue solution over it to keep it in place. You have to be soooo gentle and use a really soft brush, otherwise it crumples up and pretty much disintegrates before your eyes. At least the cat lost interest once they were covered in tissue and he couldn't see the sticks...


After several days of gluing I finally had them completely covered. They looked lovely, but weren't really in-keeping with my project. I thought about staining them with tea, coffee or watercolour so did some experiments, but the colours weren't right and the pigment would be drawn to the tears in the tissue paper, drawing attention to them and creating a patchwork effect which I didn't want.
I decided I needed to add texture rather than, or as well as colour, so I needed to get back to the microscope to look at a viola seed pod in much greater detail.
What a farce that turned into! I knew I needed to use the binocular microscope in order to view a 3d object - the standard microscope could only be used to look at 2d, flat objects or slides. Unfortunately, Rhian from the biology department was off sick and I had several weeks of asking other people to help, to no avail. I was unable to source and secondary source images of a viola seedpod under the microscope online and was on the verge of just assuming it either had a bubble-wrap texture or a honeycomb-like cellular texture when Rhian finally came back to work and I was able to get the images I needed:


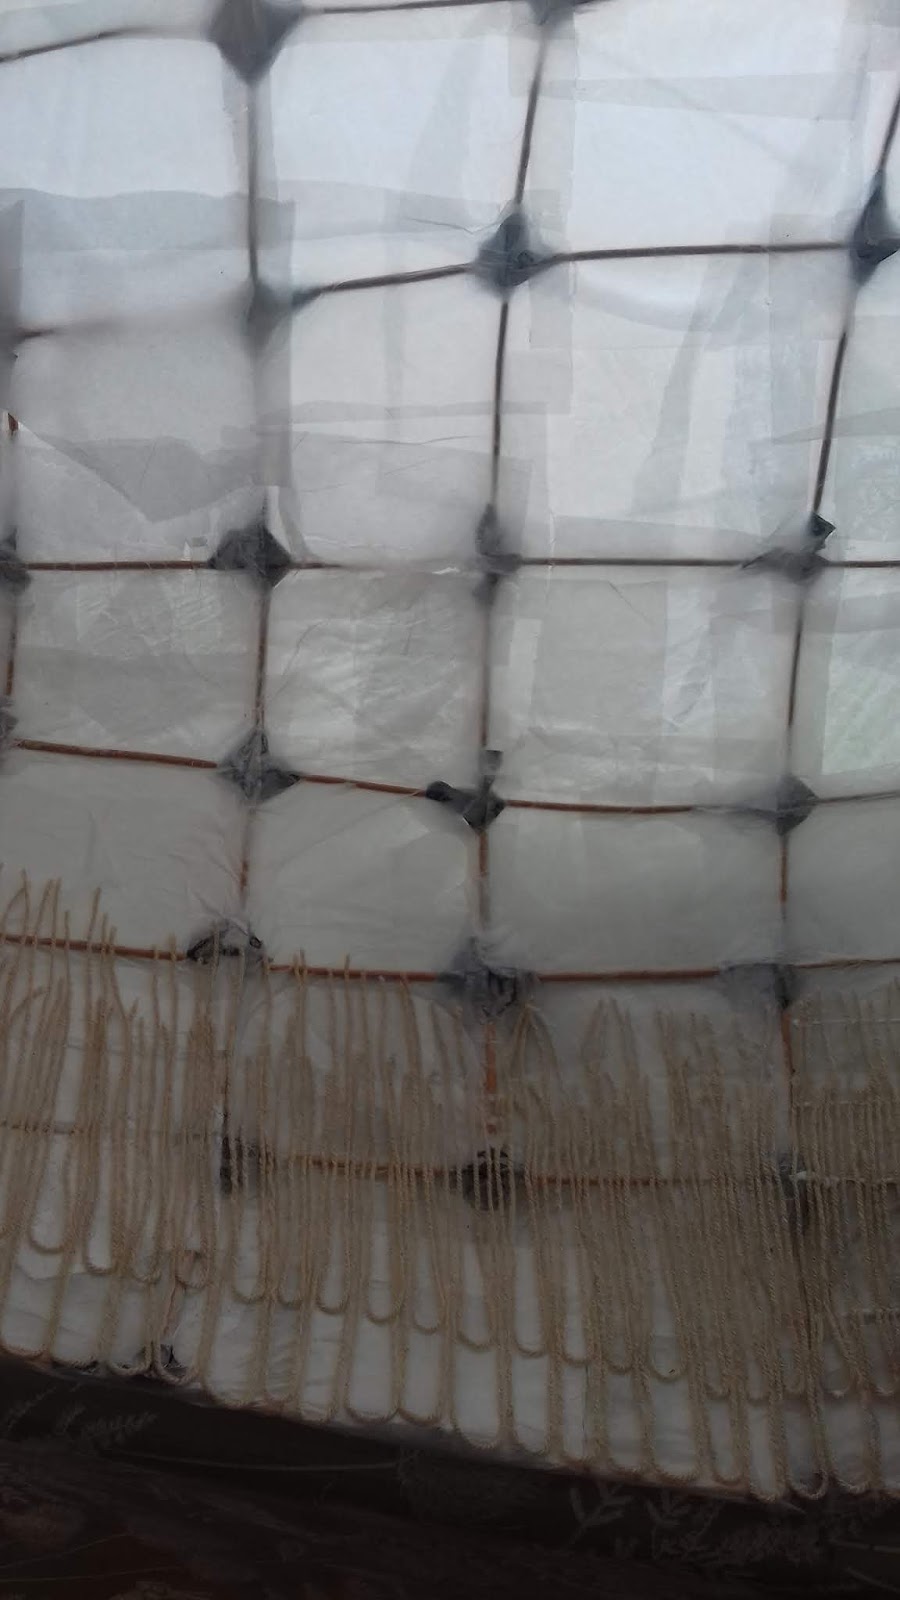
Not what I expected, but actually far more beautiful and structural and with lots of potential. It looks like flies wings or human skin. I got to experimenting with threads to recreate similar patterns (see sketch book) and decided on a method of gluing loops of wool on the insides. This would allow me to add colour as I could buy threads in colours matching my seeds and the rest of my work. Again, this took far longer than I had expected, but I got there eventually!


I made sure they were the right size to fit in my allocated corner of the gallery space as they couldn't spill over onto the wooden floor area for access/health and safety reasons.
Whilst I had made withy sculptures before, I hadn't covered them with tissue before, so I asked Sian for a quick demonstration. She told me I needed to cover them in cling film first to give an even surface to stick the tissue paper to. That was much more of a palaver than I had expected! Cling film is not the most co-operative material at the best of times when trying to cover a sandwich, let alone a 4 ft stick sculpture! And then there's the serrated blade that is 'helpfully' put on the box to tear the cling film...several cuts and a few cling film/selotape related tantrums later, Sian showed me how to apply the tissue paper. She made it look so easy! Simply water down the PVA glue a little, then tear a little piece of tissue paper, place it on the clingfilm and brush a little of the glue solution over it to keep it in place. You have to be soooo gentle and use a really soft brush, otherwise it crumples up and pretty much disintegrates before your eyes. At least the cat lost interest once they were covered in tissue and he couldn't see the sticks...


After several days of gluing I finally had them completely covered. They looked lovely, but weren't really in-keeping with my project. I thought about staining them with tea, coffee or watercolour so did some experiments, but the colours weren't right and the pigment would be drawn to the tears in the tissue paper, drawing attention to them and creating a patchwork effect which I didn't want.
I decided I needed to add texture rather than, or as well as colour, so I needed to get back to the microscope to look at a viola seed pod in much greater detail.
What a farce that turned into! I knew I needed to use the binocular microscope in order to view a 3d object - the standard microscope could only be used to look at 2d, flat objects or slides. Unfortunately, Rhian from the biology department was off sick and I had several weeks of asking other people to help, to no avail. I was unable to source and secondary source images of a viola seedpod under the microscope online and was on the verge of just assuming it either had a bubble-wrap texture or a honeycomb-like cellular texture when Rhian finally came back to work and I was able to get the images I needed:


Not what I expected, but actually far more beautiful and structural and with lots of potential. It looks like flies wings or human skin. I got to experimenting with threads to recreate similar patterns (see sketch book) and decided on a method of gluing loops of wool on the insides. This would allow me to add colour as I could buy threads in colours matching my seeds and the rest of my work. Again, this took far longer than I had expected, but I got there eventually!


Comments
Post a Comment